Before installing new flooring, you should check your subfloor for damage, moisture issues, and levelness. Make sure the subfloor provides proper support, free of rot, cracks, or water stains. Installing a moisture barrier is essential in humid areas to prevent warping and mold. Repair any weak spots and confirm the surface is flat for a smooth finish. Understanding these basics will help your flooring last longer, and there’s more to explore for a perfect install.
Key Takeaways
- Ensure the subfloor is clean, dry, and free of debris before installation.
- Inspect for damage, soft spots, or moisture issues that need repair or replacement.
- Confirm the subfloor is level and flat to prevent uneven flooring and gaps.
- Install a proper moisture barrier, especially in high-humidity areas, to protect against water damage.
- Use appropriate installation techniques to enhance durability and ensure a long-lasting flooring surface.
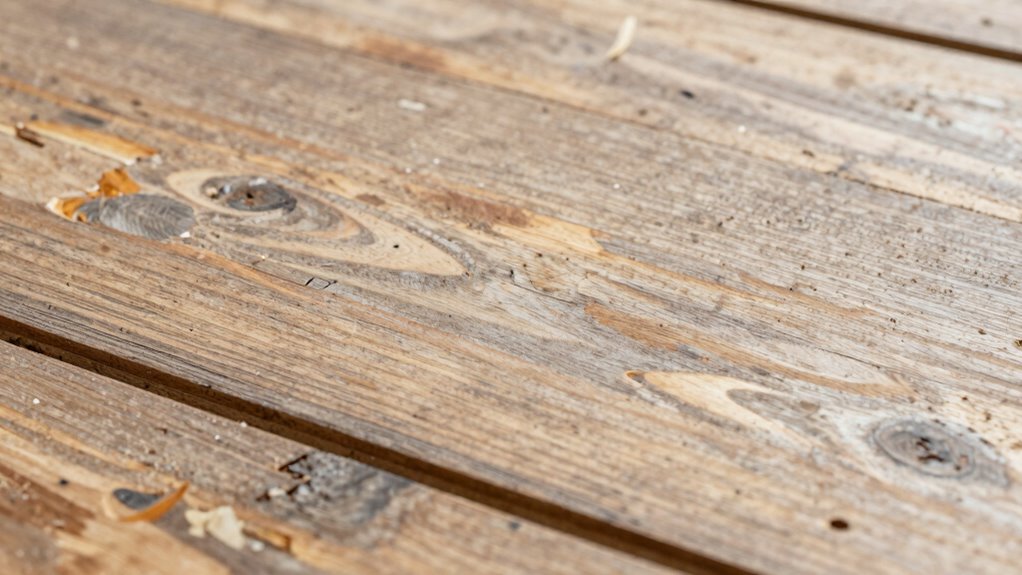
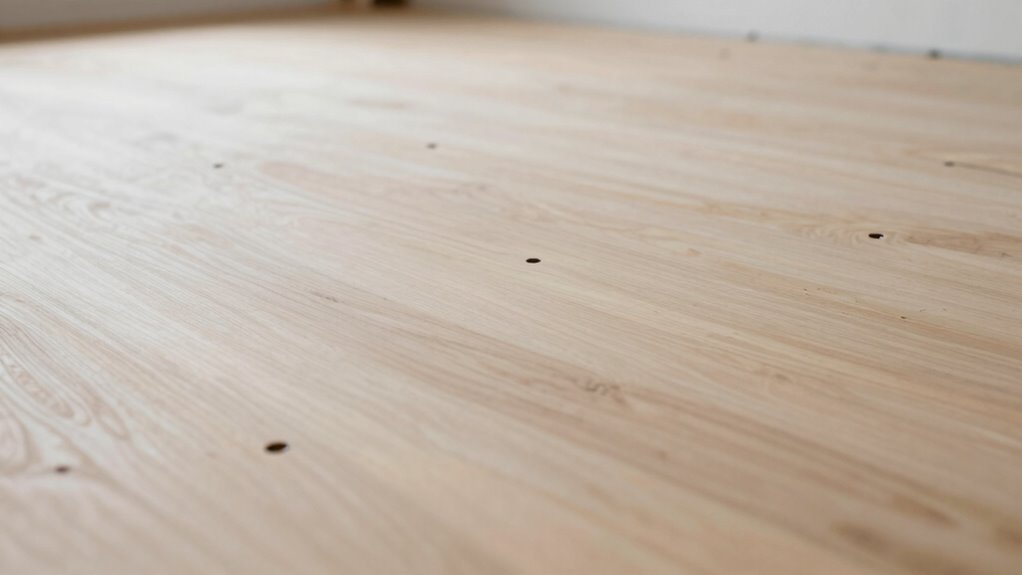
Have you ever wondered what lies beneath your flooring and why it matters? The subfloor is a fundamental layer that provides support and stability for your entire flooring system. Without a solid, even subfloor, your new flooring could end up uneven, cracked, or damaged over time. Before you lay down new flooring, understanding the basics of your subfloor helps guarantee your investment lasts. One important aspect to think about is moisture barriers. These barriers are essential if your home is prone to moisture or humidity, as they prevent water vapor from seeping up and causing damage to the subfloor or your new flooring. Moisture can lead to warping, mold growth, and deterioration, so installing a proper moisture barrier is a smart move to protect your space. If your existing subfloor has suffered water damage or shows signs of wear, subfloor repair becomes necessary before installing new flooring. Damaged or weakened sections can compromise the entire floor’s integrity, leading to squeaks, uneven surfaces, and potential safety hazards. Repairing the subfloor involves removing damaged material, leveling uneven areas, and reinforcing weak spots. This process guarantees a stable foundation that supports your new flooring properly. Identifying issues early can save you money and frustration down the line. When inspecting your subfloor, look for signs of water stains, soft spots, or sagging areas, all indicators that repairs might be needed. If your subfloor is made of plywood or oriented strand board (OSB), it’s important to check for delamination or rot, especially in areas prone to moisture. Additionally, understanding subfloor materials can help you better assess the overall condition of your flooring base. Proper installation of moisture barriers is also crucial, especially in areas with high humidity or potential water exposure. Ensuring proper moisture protection can prevent future issues and maintain the longevity of your flooring. To further ensure your subfloor is prepared properly, consider the importance of correct installation techniques, which can significantly impact the durability of your flooring. Once you’ve addressed any moisture concerns with a barrier and completed necessary repairs, you can proceed with confidence. A well-prepared subfloor will provide a flat, level surface that enhances the durability and appearance of your new flooring. Remember, the quality of your subfloor directly impacts how long your flooring will last and how it performs. Skipping proper inspection or repair can lead to costly problems down the road. Ensuring the subfloor is properly moisture protected can significantly extend the lifespan of your flooring. In some cases, professional help is advisable to guarantee that the subfloor is properly prepared and that moisture barriers are correctly installed. Taking these steps before installing new flooring guarantees a smoother, more resilient finish that stands the test of time. Essentially, understanding and caring for your subfloor is the foundation of a successful flooring project. It might seem like a minor detail, but it’s the key to enjoying beautiful, trouble-free floors for years to come.

Roberts 70-117 Moisture Barricade 6 mil Polyethylene Film Roll, 600 sq. ft.
Class 1 Vapor Barrier protects against moisture when installing vinyl, laminate, SPC and engineered wood flooring
As an affiliate, we earn on qualifying purchases.
As an affiliate, we earn on qualifying purchases.
Frequently Asked Questions
How Do I Identify a Damaged Subfloor?
You can identify a damaged subfloor by checking for soft spots, which feel spongy or give underfoot, indicating weakened subfloor materials. Look for visible signs like warping, cracks, or sagging. Also, inspect for excessive moisture or mold, as subfloor moisture can cause damage over time. If you notice any of these issues, it’s crucial to repair or replace the subfloor prior to installing new flooring to guarantee durability and safety.
What Tools Are Needed for Subfloor Inspection?
A stitch in time saves nine, so start your subfloor inspection with the right tools. You’ll need a moisture meter to check subfloor moisture levels and a sturdy flashlight to spot damage in the subfloor material. A pry bar helps lift sections gently, while a level detects unevenness. These tools guarantee you identify issues early, preventing future problems and ensuring your new flooring rests on a solid, dry foundation.
Can I Install New Flooring on Uneven Subfloors?
You can install new flooring on uneven subfloors, but proper subfloor preparation is vital for flooring compatibility and longevity. First, identify high and low spots, then sand, shim, or level these areas to create a smooth, stable surface. Skipping this step can lead to flooring issues like warping or cracking. Always make sure the subfloor is clean and dry before installation for the best results and durability.
How Thick Should My Subfloor Be?
You should aim for a subfloor thickness of at least 1 1/4 inches, especially when using materials like plywood or OSB. Thick enough subfloor materials provide stability and prevent flexing, which can damage your new flooring. While some installations work with thinner subfloors, ensuring proper subfloor thickness helps maintain a level surface and supports your flooring over time. Always check local building codes for specific requirements.
How Often Should Subfloors Be Replaced?
You should replace your subfloor when it shows signs of damage, rot, or persistent moisture problems. Regular moisture testing helps identify hidden issues early. If your subfloor materials are severely warped, cracked, or weakened, replacement becomes necessary to guarantee stability and prevent future flooring problems. Keep an eye out for mold, squeaks, or uneven surfaces, as these also indicate it’s time for a new subfloor to maintain a safe, solid foundation.

ZJchao Squeaky Floor Repair Kit – Easy DIY Installation, Effective Noise Elimination for 5/8" Subfloors, Compatible with Wood & Plywood, Quiet Home
[ and ] : Made with aluminum alloy, providing a long-lasting and sturdy repair solution for squeaky floors.
As an affiliate, we earn on qualifying purchases.
As an affiliate, we earn on qualifying purchases.
Conclusion
Now that you know the essentials of subflooring, you’re fully equipped to tackle your flooring project with confidence. Think of your subfloor as the mighty foundation of a skyscraper — without it, nothing stands tall or lasts long. When you guarantee it’s solid, level, and well-prepared, your new flooring will shine brighter and last longer than you ever imagined. So, get ready to create a stunning, durable space that’ll impress everyone for years to come!

ARDEX TL 2000 Fiber Reinforced Self-Leveling Floor Underlayment, Cement-Based Polymer-Modified Compound for Interior Concrete, Wood, Tile, 50 Lbs Bag, 38119
Fiber-reinforced self-leveling floor underlayment for increased durability, tensile strength, and flexural performance
As an affiliate, we earn on qualifying purchases.
As an affiliate, we earn on qualifying purchases.

Vapor Score Moisture Tester for Concrete Slab, Calcium Chloride Test Kit – Easy-to-Use Water Damage Detector and Moisture Analyzer (12-Pack)
ASTM 1869 Certified Accuracy: Reliable moisture vapor emission testing for concrete slabs to meet ASTM F1869 standards; helps…
As an affiliate, we earn on qualifying purchases.
As an affiliate, we earn on qualifying purchases.